The Element of texture in photography is all about giving your photograph a real, tangible, and tactile feeling, and depicting it visually with light and shade. It is an important element in photography technique. Textures can add depth, interest, and visual appeal; they can even create an emotional connection to a photograph.
Without texture, there would be no flavor in our world. Our world would look much like early 3D art – without texture… Where shapes were rendered mostly with flat surfaces devoid of tactility and realism. Whether it’s the roughness of a rock face, the smoothness of a metal surface, or the gentle softness of a flower petal, texture can be found in every object in this universe.
Nothing is devoid of texture, from natural landscapes to man-made objects, and that’s why effective photography technique needs it too. As photographers, we need to know how to use texture in photography naturally, and effectively.
What is Texture?
Texture refers to how the surface of any real object feels. Textures convey the roughness or smoothness of the object, the sensory input it gives us when we touch it. Textures are conveyed by the patterns on a surface, or the way light and shadow play over an object. Photographers often make use of textures in their photographs to add reality, tangibility, and familiarity to their photographs. When they’re adept at it, they can use it to create an emotional connection to the photographed scene based on the viewer’s memories. This is why texture is a very important part of art theory. Some other aspects of art theory are space, form, detail, shape, pattern, color, etc.
How is Texture Created in Photography? 3D Forms in 2D Space
Texture in photography is created by the skillful use of light and shadow to create shading that accurately depicts the textured surface.
We know how objects in a photograph feel simply by looking at them; because we have felt similar objects in our lives. Using these tactile sensory memories will allow you, as a photographer, to evoke a response in the viewer. But this is not an easy task because depicting 3-dimensional surfaces via a 2D medium is quite a challenge! The secret to showing textures in photography is in the skillful use of light, shadow, and reflections.
Understanding the Basics of Textures
Let’s look at a few different types of textures. They can be classified into:
- Natural Textures
- Man-made Textures, and
- Abstract Textures
Natural Textures – How To Use Them Well
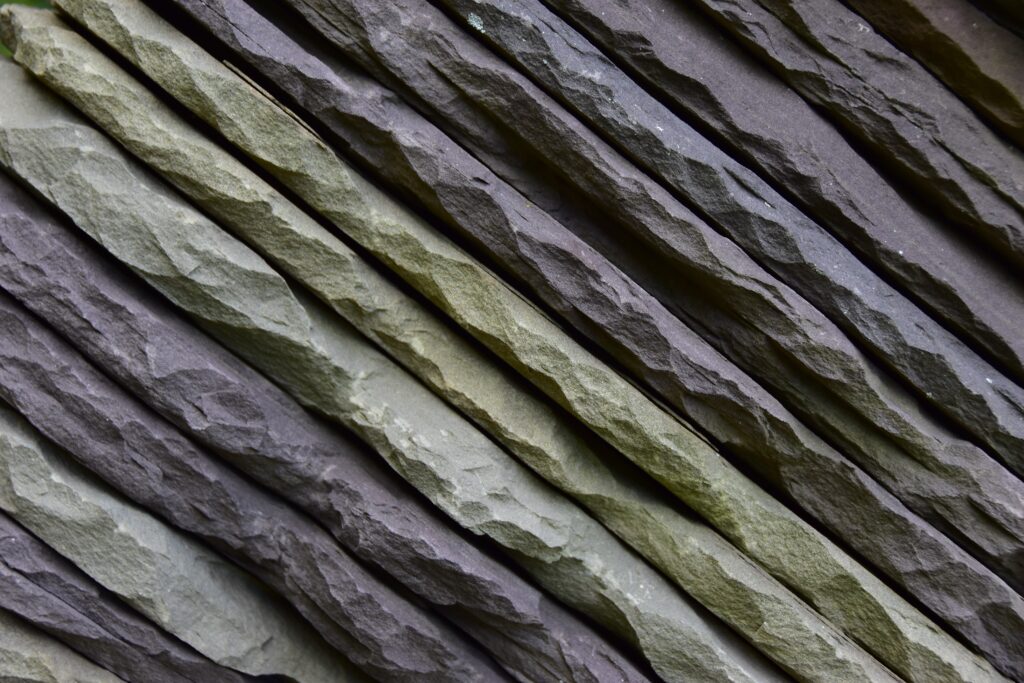
Textures that are found in nature are how we understand the world around us. Textures like the surface of rocks, trunks and leaves of trees, moss in a forest, sand from a riverbed or from the seashore… Every object has a texture. It adds depth and interest to an image.
These textures make the world around us look and feel real, and capturing that brings authenticity to a photograph. Photographers often make prominent use of natural textures to add depth and interest to their photographs, and to showcase the beauty and complexity of the natural world.
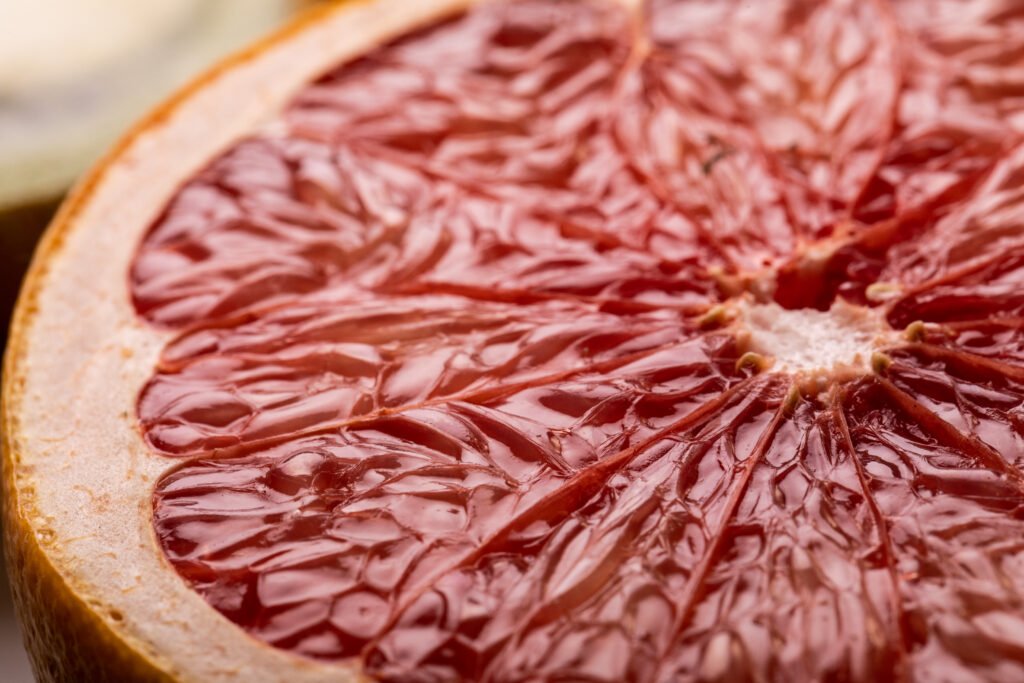
In the world of food photography, textures are really important. Along with colors, the texture of food in a photograph is the only way to convey the care taken in the dish’s preparation and possibly its delicate taste too. This is one reason why you’ll see many photographers using rim lighting and backlighting – to show the textures, and translucency of the plated food.
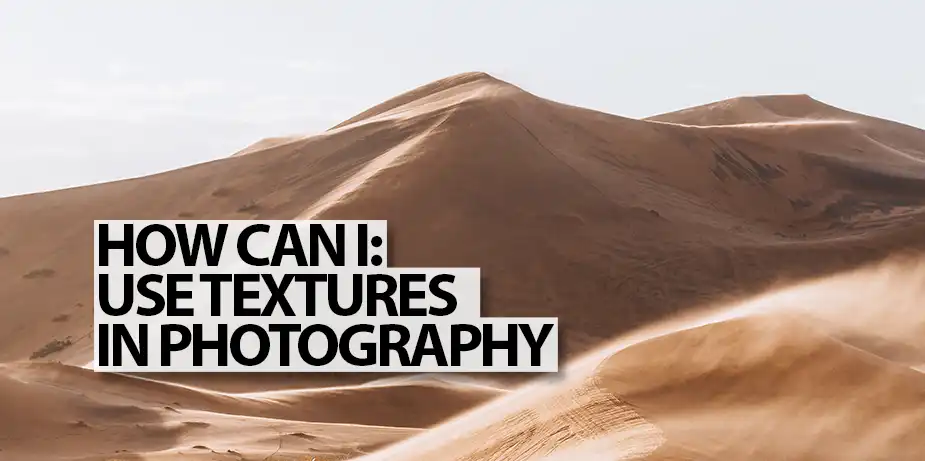
Textures are also important in landscape and wildlife photography. The dry vastness of a desert is accentuated by the textures and patterns of the sand, scrub, and rock in a photograph of it. The scale of a rock face and the difficulty of the climb to the top is accentuated by the texture of the rock itself.
Everywhere in nature, you’ll find textures that you can use to enhance the viewer’s understanding of the scene that you are photographing.
Man-made Textures – Depicting Our Civilization
You see artificial textures all around you. They are textures created by humans, such as brick walls, pottery, tiles, road surfaces, metal surfaces, textiles, etc. Though they use natural materials in many cases, they have been shaped and processed by us to create structures, art, and so much more. These are the textures that allow us to describe our modern civilization.
Machine-made textures add a sense of structure and complexity to a photograph – think of the texture of a roughened aluminum laptop surface, or the fine texture of a designer gown, the highly polished surface of a racing car, or the texture of astroturf. Photographers often use manufactured textures to add visual interest and contrast to their photographs, and to showcase the beauty and complexity of our modern life.

You’ll see artificial textures in architecture, where the materials used in the building and finishing of any space is supremely important to discerning architects and their clientele. It’s important that these textures are depicted well in photographs that you see of their work.
Textures are also important in product photography, and macro photographs. Textures in product photographs convey important messages about a product’s quality to a potential buyer and can make all the difference between a best-selling or loss-making product.
Textures convey what the product or space feels like in real life, and that’s why we must pay attention to how we use textures in our photographs.
Abstract Textures – Makes Us Wonder…
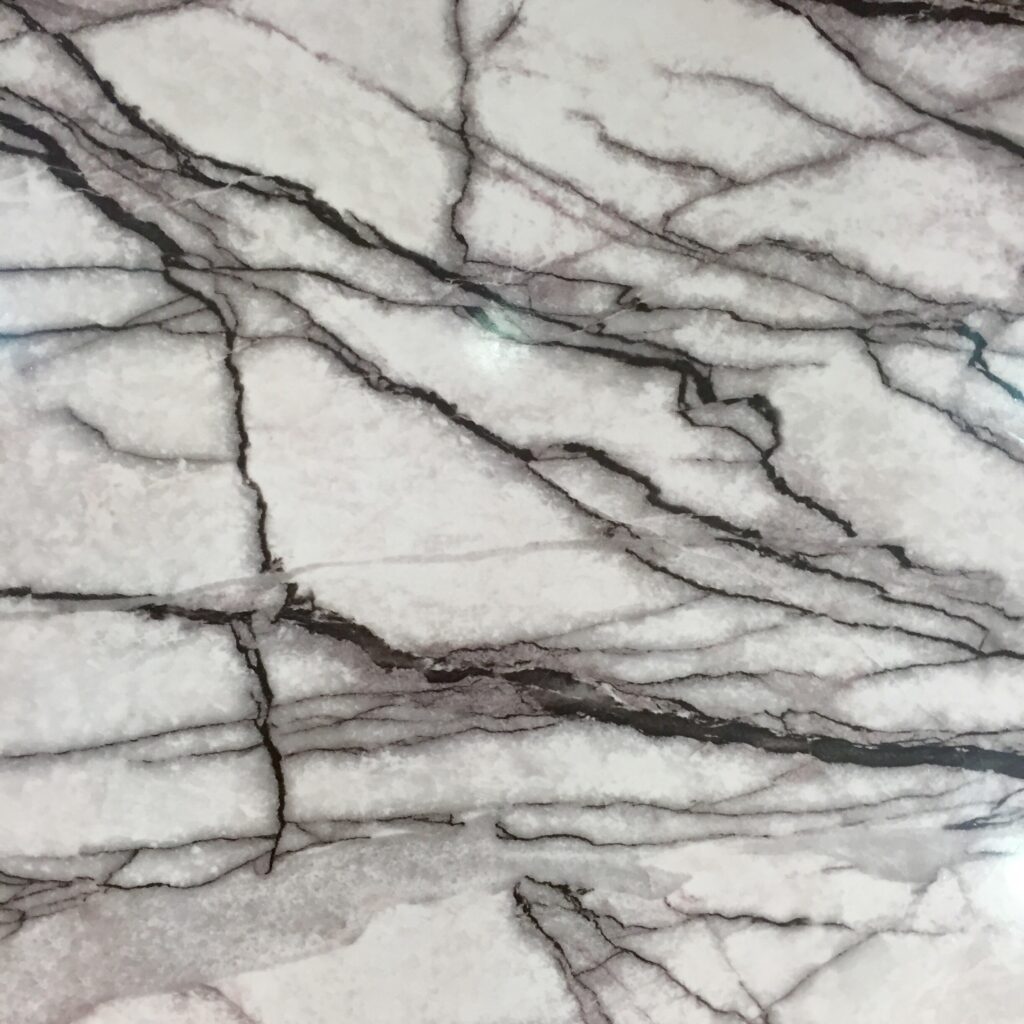
Textures can be abstract or semi-abstract. Abstract textures are textures that are not easily identifiable, such as patterns, light, shadow, etc. These textures can add a sense of mystery and intrigue to a photograph. Examples of abstract textures include the patterns created by light and shadow, or the texture of a patterned surface.
Photographers often use abstract textures to create a sense of mood and atmosphere in their photographs and to add visual interest and complexity to their images. These textures can often become subjects in themselves, mesmerizing us with the beauty of their origins.
The Emotional Connection to Texture
By evoking a feeling of nostalgia via texture, a photographer can tap into the viewer’s sensory memories, creating powerful responses. The sensory memory of touching various materials is integral to any child’s developmental years. If used well, a photograph can bring these memories to the fore with clever use of lighting to emphasize textures, among other things.
For example, light reflecting off the impeccably glossy finish of a car can remind us of when we’ve dragged our fingertips over the surface of a brand-new car just like it while running down the street. The rough texture of a rock face reminds us of the tactile feel of climbing over limestone and granite when we went on vacation.
Why Artists Love Textures
The textures of a subject can also convey a sense of mood, atmosphere, and location, such as the roughness of a stormy sky or the smoothness of a calm sea. Textures affect us in a physical sense, and in doing so they can connect an image with the viewer’s own reality.
Use texture wisely, and it can become a very valuable storytelling tool. Disregard it, and you will make weaker images.

How to Photograph Texture Effectively – 3 Photography Techniques
Photographing textures is mostly about how you use your lights, how you position them, and how they interact with surfaces in relation to your camera. You can also make equipment choices that will allow you to enhance or suppress textures as you wish. Here are some photography tips to understand how you can use these ideas practically.
- Using Lighting To Enhance Textures
- Using Equipment To Control Textures
- Using Composition To Accentuate Textures
Using Lighting To Make Textures More Prominent
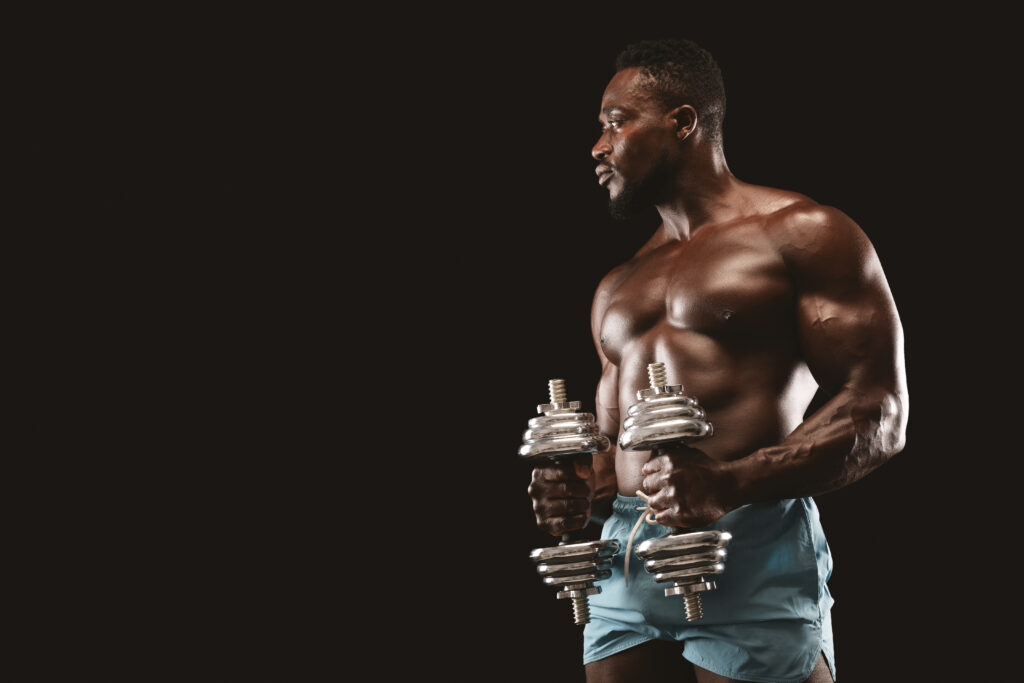
Lighting techniques can have a huge impact on the appearance of texture in a photograph. The way light reflects off a surface or creates shadows has everything to do with how visible a texture is. If your lighting doesn’t create a reflection or shadow (soft lighting), then the texture is suppressed.
- Use backlighting to highlight texture: By placing your subject between the light source and the camera, you can create a backlight effect that highlights the texture of your subject. This can be especially effective for subjects with natural textures, such as plants or rocks. Backlighting creates reflections and highlights around the rim or sides of the object, creating strong shadows even from lightly textured surfaces.
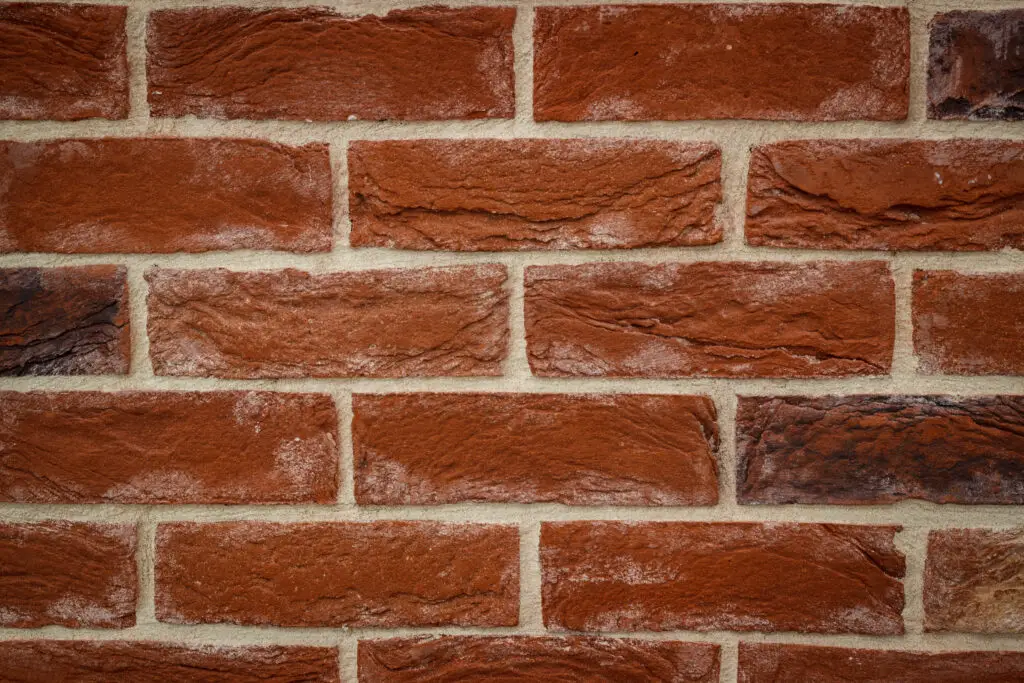
- Use side lighting to create contrast: By placing the light source to the side of your subject, you can create contrast and bring out the texture of your subject. This can be especially effective for subjects with man-made textures, such as brick walls or metal surfaces. Not every surface can be backlit, so another way is to side-light the surface.
- Use direct light sources: When you use a harsh direct light source, the contrast it creates is higher, and so the textured surface is emphasized. Diffused light sources create softer shadows and make textures seem softer or gentler.
- Use a reflector or negative fill: Filling in contrasting shadows with a reflector or fill light can seem to smoothen out a textured surface. You can do the opposite by using a negative fill.
Equipment Selection to Add Textures To Your Photos
I’ve said that you don’t need any special equipment to photograph textures and to use textures in your photographs. However, certain types of lenses have inherently higher contrast, and resolution. Choosing such high-contrast lenses enhances the appearance of rough textures, while using a softer lens or a diffusing filter softens textures. You should note that these are choices that affect the overall image.
Using a very sharp lens on your camera for a beauty or boudoir photograph may not be the best choice to convey the right mood and emotion. Equipment choice plays a large role in the final output this way.
If your subject has fine details, you can choose a macro lens to allow you to capture fine textures in it. For example the individual grains of sand on a beach, or the delicate patterns on a flower petal or leaf, or the sheen of the luxurious finish of a high-end fashion handbag.
Macro lenses will allow you to expand small parts of a texture into an image so large and detailed that the texture becomes the subject. You could also enlarge the texture so much that it loses context, making it an ambiguous and abstract pattern.
Using a lens with a wide aperture (e.g. f/2.8 or lower) will allow you to shoot in low light conditions, but the depth of field will be greatly reduced. This can work in two ways… it could lead the viewer to focus on a small, highly textured area (see example in the gallery), or it could blur out distracting textures in the background or foreground. Using a small aperture (e.g. f/11 or f/22) will lead to more detail in your photograph, and maybe also more distractions.
In these ways, you can enhance or suppress a texture’s prominence in your photograph by using appropriate photography techniques with texture in mind. This is very common in the fields of Macro, Food Photography, and Product Photography.
Composition Choices Can Accentuate Textures
The way you compose your photograph can greatly affect the appearance of texture in the final image. There are a number of compositional choices to make when using textures.
- Shoot textures from different angles: Try shooting your subject from a variety of angles to see how the texture appears differently depending on the perspective. For example, a brick wall might look completely different when shot from the front than when shot from the side. This also plays into how the light is striking the subject, so you can use the angle to emphasize the texture of any surface.
- Use framing to emphasize texture: By using other elements in the frame to form a frame-within-a-frame for your subject, you can draw the viewer’s attention to the texture of your main subject. For example, you could use a tree branch to frame a close-up of a rock or use a doorway to frame a shot of a brick wall.
Finding Textures – The Most Important Part
Textured materials are all around us. And that may be part of the problem; because we don’t find the things that we see all the time to be unique.
So, to find a texture that you see as unique and worthy of your attention, you must put yourself in new and unusual places. Start by walking around your neighborhood, with a camera in hand, and look for textures. You could use any camera – even your smartphone! Use mindfulness techniques to make yourself more aware of the abundance of textures all around you.
Photograph textures in different lighting situations. Photograph textures using different compositions.
The important part is that you practice enough, to truly recognize and see textures in your world, and to use them as a part of your photography repertoire. In a very short time, you’ll begin to see the subtle effect that they have on your photography in ways that you least expect!
How to Emphasize and Mute Textures
There are times to make a surface texture more prominent, and times when we want to make the texture more subtle.
Photographers can use lighting, composition, and even post-processing to highlight the texture of their subject, creating visually interesting and unique images.
1. Using Lighting Techniques For Textures

Contrasty lighting can emphasize texture, while soft, diffused light will subdue it. This is because high-contrast lighting creates strong shadows, which can help to define the texture of a surface. On the other hand, soft, diffused light will tend to fill in shadows and smooth out the appearance of texture.
This knowledge can be useful in a variety of photography genres. For example, in beauty photography, soft, diffused light is often used to create a smooth, flattering appearance for the skin. This can be achieved by using a softbox or umbrella as a light source, or by shooting on an overcast day.
On the other hand, in sports and fitness photography, a more rugged, defined appearance may be desired. In this case, contrasty lighting or backlighting with direct, hard lights could be used to bring out the texture of muscles and other features.

2. Using Composition to Set The Mood
Putting rough objects close to the viewer visually (in the frame of the camera), can set the mood of the photograph. Similarly, setting the scene with subjects framed by smooth textures sets an entirely different mood and atmosphere.
You can see this often used in advertising photography, where a bar of smooth chocolate is framed by sweeping swirls of cream or milk. Think about texture with relation to composition while looking though your camera’s viewfinder, and it could make a huge difference.
3. Using Softening Filters
Before digital photography, photographers used to use a ‘glamour filter’, ‘soft-light filter’, or ‘glow filter’ to remove some of the sharpness of a lens. While the image itself is sharp, the sharpness is muted, providing a glamorized soft look. The subject’s skin is softened, and highlights are also made soft.
More often these days, photographers no longer use filters like this, because this same effect can be attained using post-processing in Adobe Photoshop, Affinity Photo, Luminar Neo or similar tools.
4. Fine Tuning Texture Elements Using Post Processing Techniques
Textures can also be softened or de-emphasized after a photograph is captured through post-processing techniques. You can use a blur filter to soften the overall appearance of the image or use the blur tool with a low pressure-setting to softly blur specific areas of the image.
You can also use layer masks in combination with these filters to selectively apply the effect to certain areas of the image. This can be especially useful if you want to soften the texture of a portion of the image, such as the skin in a portrait while leaving other areas of the image untouched. By combining these techniques, you can achieve a wide range of looks and create an image that looks exactly as you want it to.

The amount of control available is one reason why photographers prefer to make many changes in post-processing and to capture images with as much detail as possible at the outset.
Add Textures to Photos with Software Editing
You’ll sometimes see photographers editing their photos in Photoshop or Affinity Photo to add textures after they’ve done the photography. There are large libraries of textures… paper, grunge effects, cement, metal surfaces, peeling paint textures and so much more. Photographers will take time to do some photo editing to add in these textural elements so that it adds artistic
Texture as the Subject of Your Photography
While getting texture in photography is unavoidable, it may sometimes be worth focusing entirely on the beauty of the textures themselves at other times – texture photography. I’ve found myself seeing the beauty of the bark of a tree while photographing a landscape, foamy surf sliding over beautifully textured sand, or a freshly built road beneath a browning leaf. At these times, I stop to take in the scene and decide whether I want to make the texture itself the subject of my photograph. Remember that elements can be part of your composition, but they can also be the main focus of your photograph.
Some photographers love textures so much that they spend time dedicated to capturing the textures of certain subjects, such as rust or wood grain. The result is that they end up creating a portfolio with a part dedicated to these themes.
Examples of Texture Photography
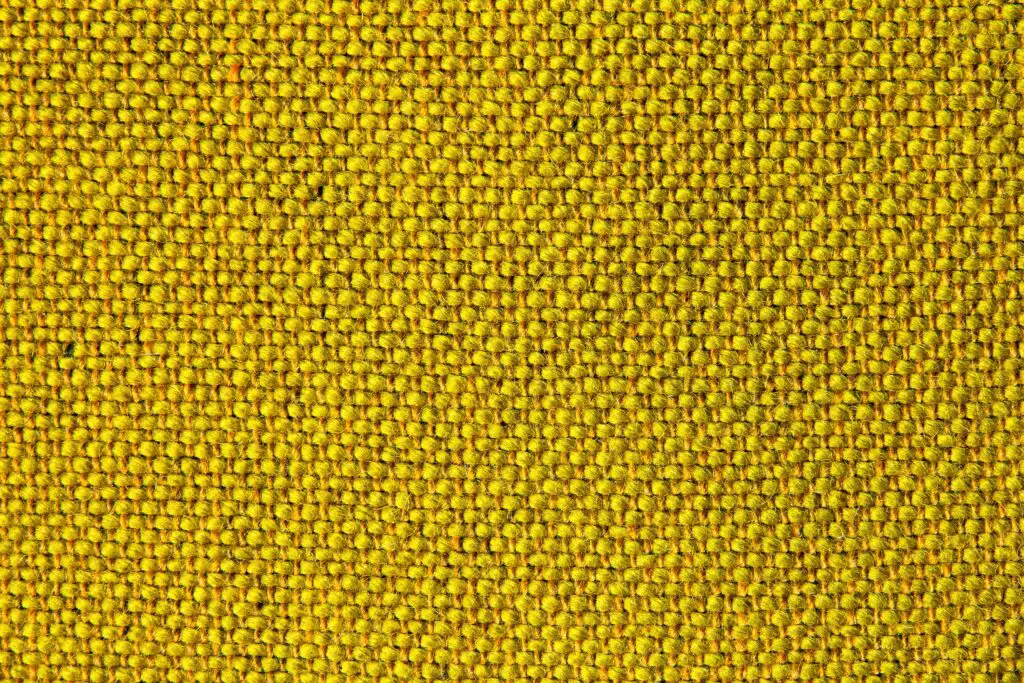
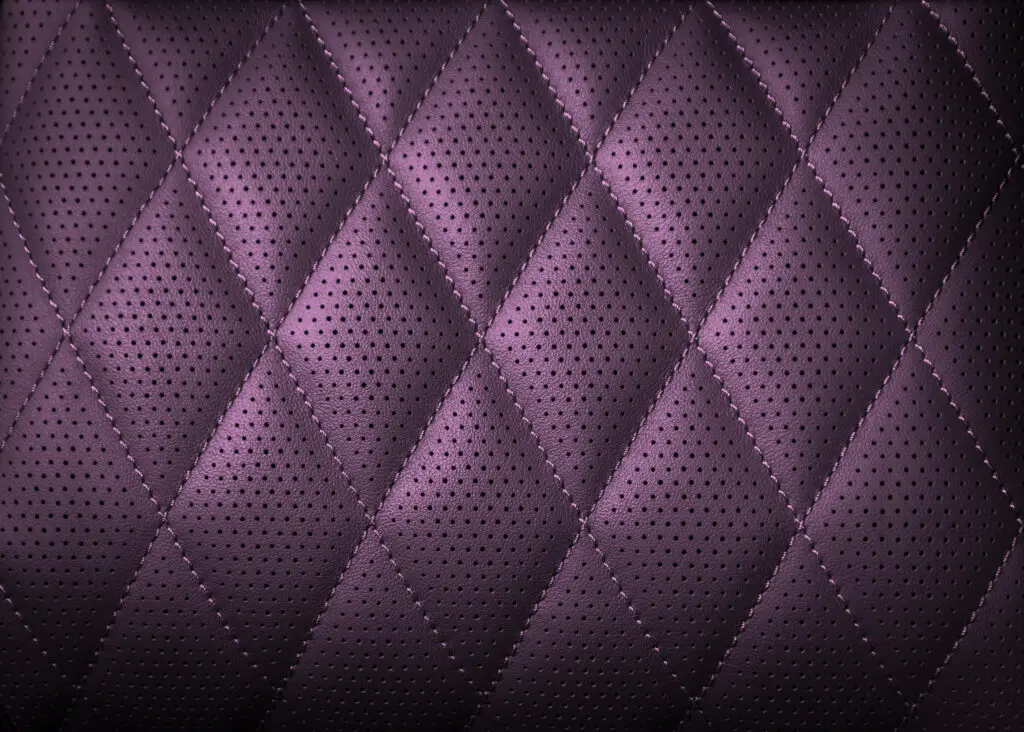
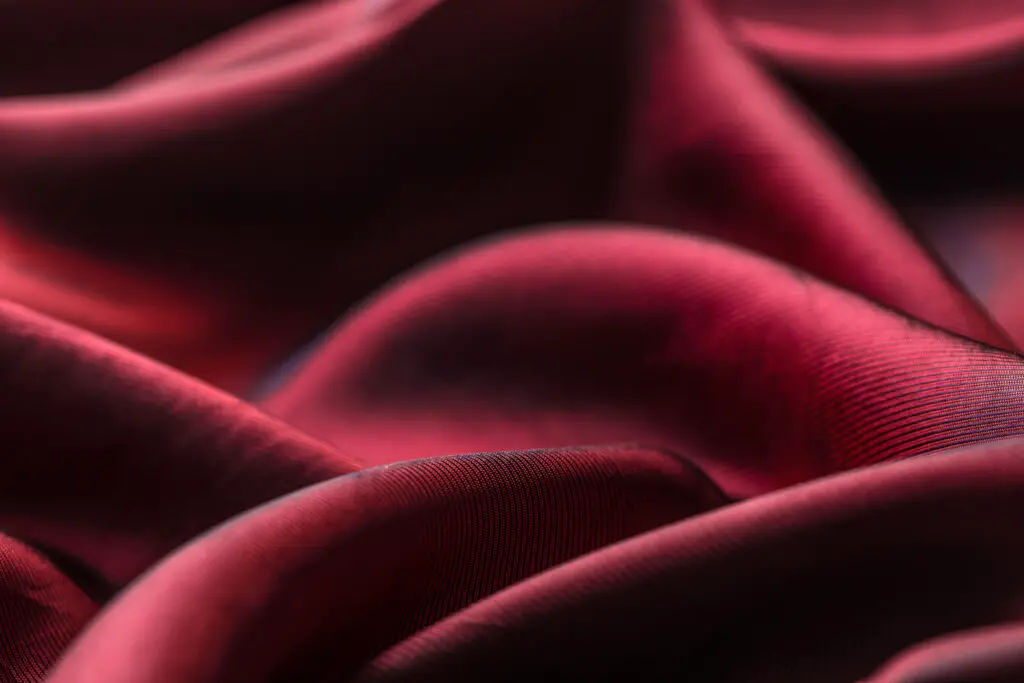
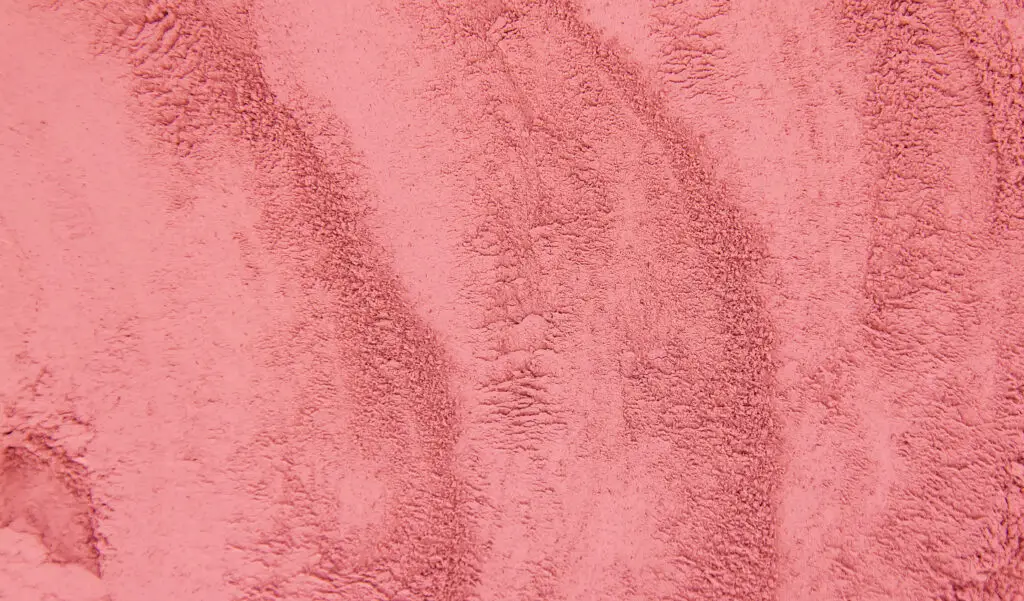
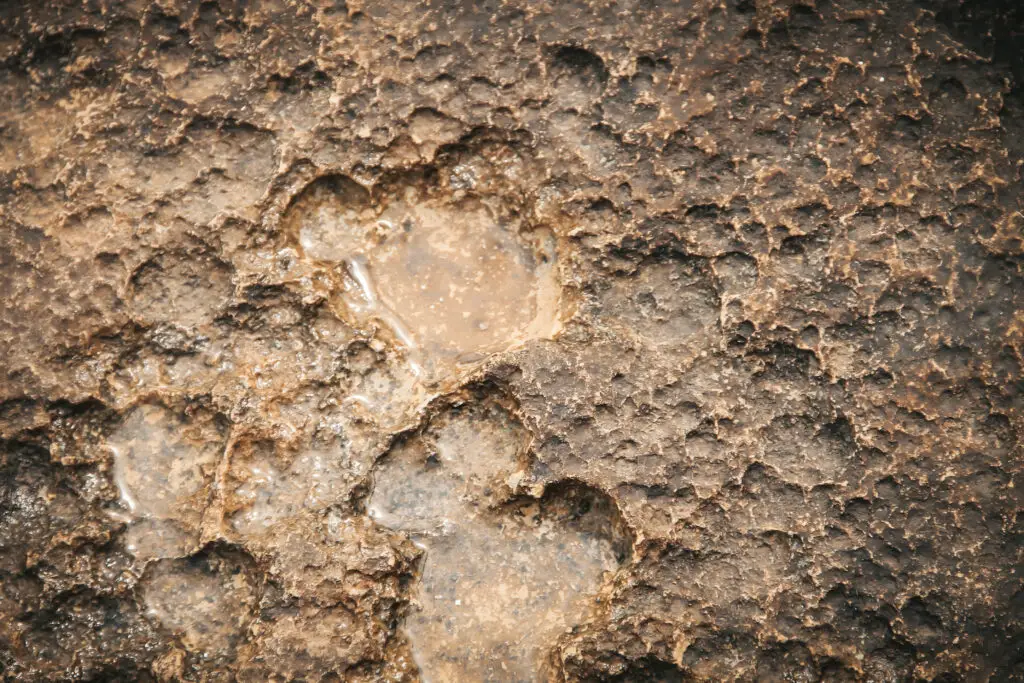
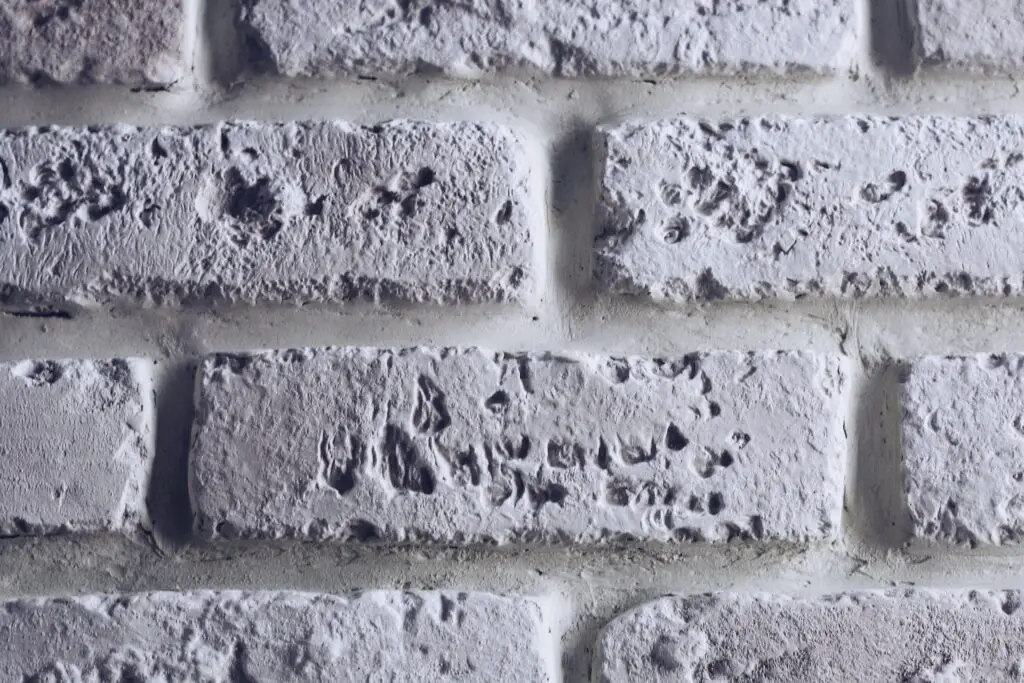
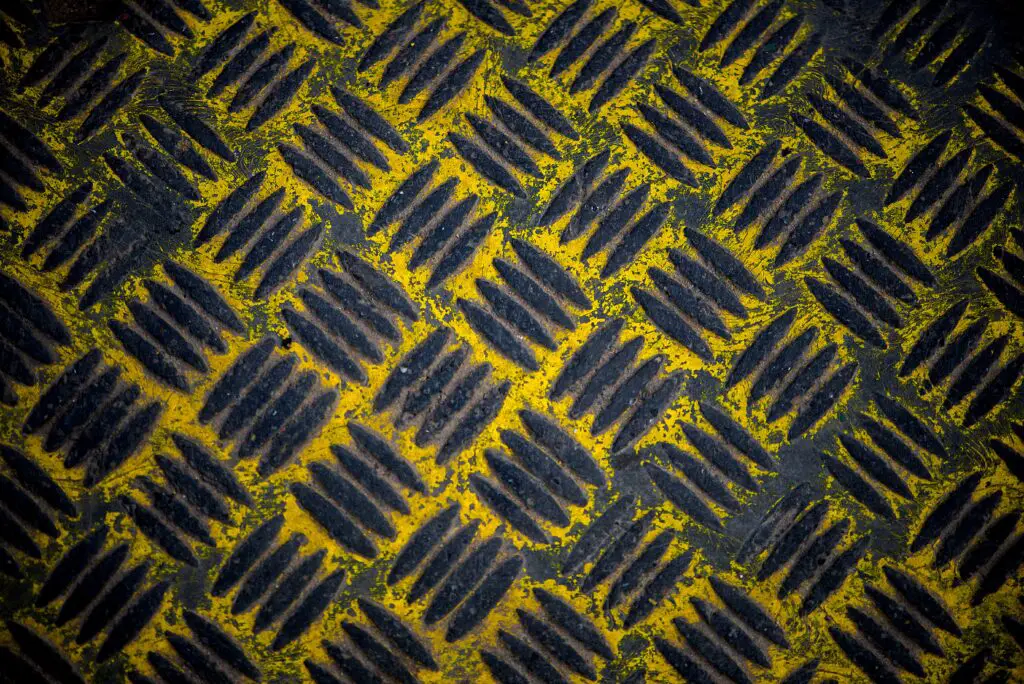
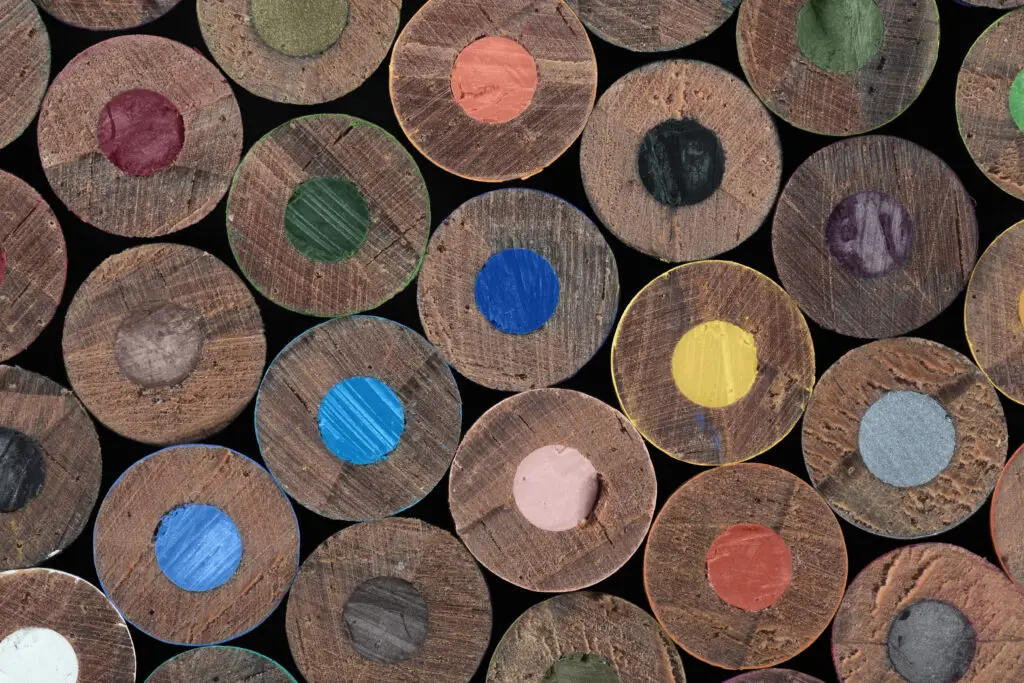
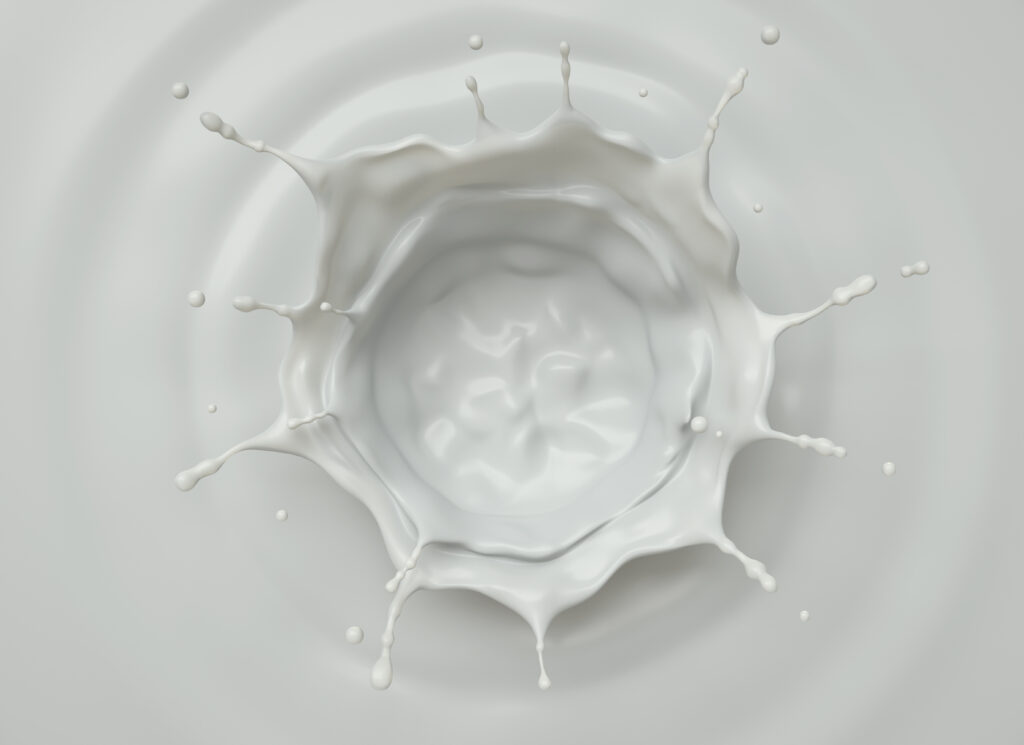
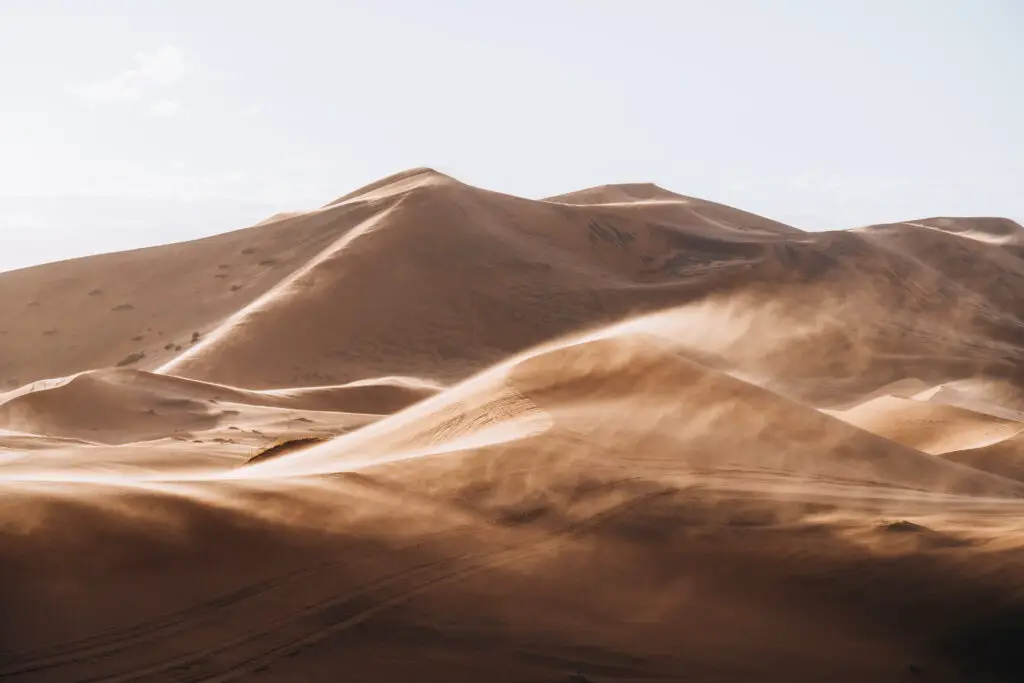
To give you an idea of how these techniques can be used in practice, here is a gallery of texture photography examples that will help you to understand some of the ideas that we have discussed:
In each of these examples above, the texture of the subject is the main focus of the photograph, and some of the techniques that we have discussed have been used to capture and enhance its visual impact.
An Important Tool In Your Photography Toolkit
Among the various photography techniques that you develop as a professional is the ability to use textures. Textures are an important part of how we understand the world around us, and so they’re important to how we depict the world visually in photographs too.
The key to learning how to use texture effectively in photography is to pay attention to the textures around you and experiment with different lighting, angles, and perspectives to see how they can be used to add interest, depth, and emotion to your photographs.
If you’re interested in getting more photography tips like this, or in trying out some other projects to hone your skills in a particular aspect of photography, check out our Photo Projects Section. You’ll find a number of projects to stretch your photography skills, and to expand your ability to see a photograph where you never imagined you’d find one.
Leave a comment with a link to some of your best photographs of textures, or photographs that use textures to convey mood and evoke emotion.
Further Reading:
- The Elements of Art: Texture – National Gallery of Art
- What is a Texture? | Human Texture Perception – Dongxiao Zhou
- Basic Art Element – Texture – Teresa Bernard
- Texture in Visual Arts – Wikipedia
Help Us To Continue Creating
Get our email newsletter to stay up-to-date with our latest posts. It’s easy to read and is mailed once in 2 weeks.
The easiest way to support Beyond Photo Tips is by using our affiliate links when you buy anything at all. It will never cost you anything extra, and we get a small commission from it, which helps us a LOT! We share our recommended equipment list here.
Some of the links to products on this website are affiliate links, and we only ever link out to gear that we recommend.
You could also show your appreciation by buying us a coffee. Finally, we appreciate you being a part of the community, so do say hi!
Image Source: Envato









Great article on the importance of texture in photography! I particularly appreciated the emphasis on the role of texture in evoking emotion and conveying sensory information to the viewer. It’s clear that understanding and effectively using texture is key to creating compelling and authentic photographs. The tips on equipment selection and the examples provided were also helpful in illustrating the points made. Well done!
Thanks, Marien Cartel… I appreciate your comment.